Colton, CA
Draining Your Water Heater Safely: A DIY Guide
Learn how to drain your water heater safely: step-by-step DIY flushing, when to do it in Colton's hard water, and the mistakes that damage tanks most.
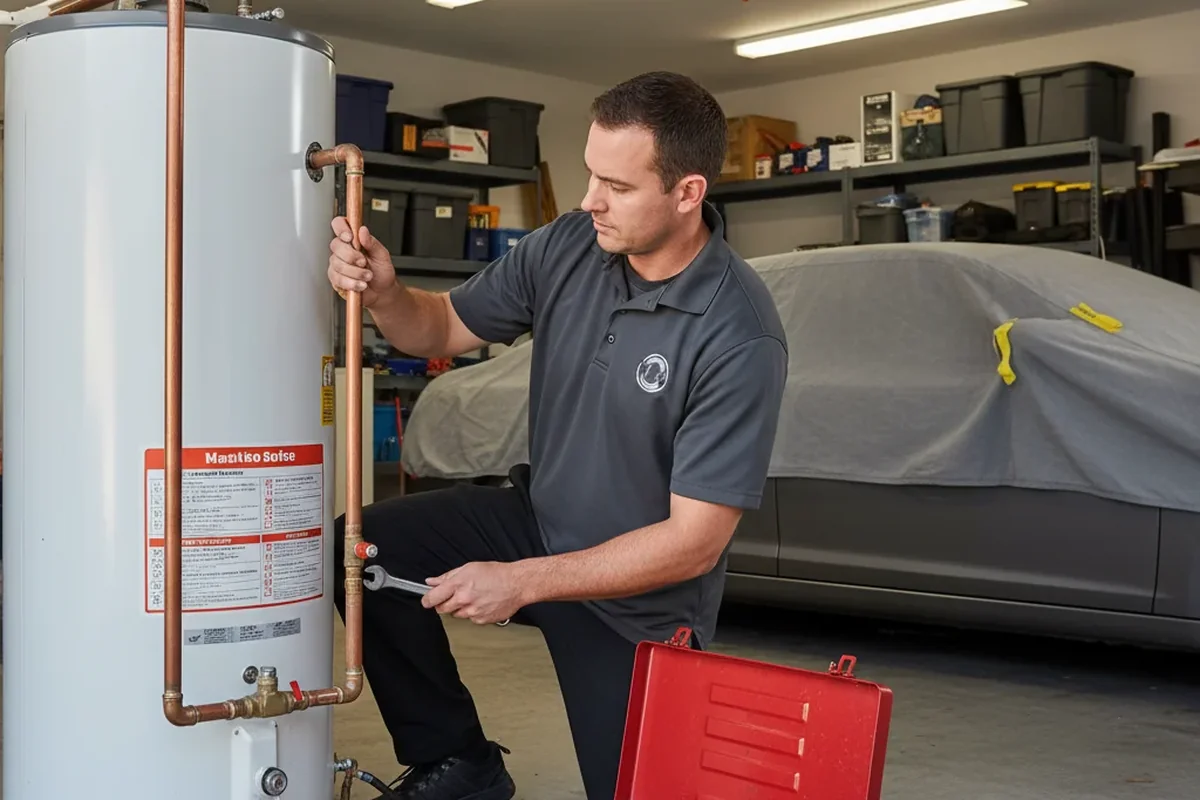
Learn how to drain your water heater safely: step-by-step DIY flushing, when to do it in Colton's hard water, and the mistakes that damage tanks most.
Draining a water heater is the most useful DIY maintenance a homeowner can do — and the one most likely to go wrong when rushed. Done right, a flush removes the sediment silently shortening your tank's life and restores quiet, efficient heating. Done wrong, it snaps a brittle drain valve, scalds someone with 130-degree water, or burns out electric elements in under a minute.
This guide gives the complete safe procedure: when draining makes sense, the preparation that prevents every common disaster, the step-by-step flush, and the refill sequence that protects the tank. It is written for Colton's hard-water reality, where flushing matters more and the pitfalls are sharper.
Drain or flush when: the heater pops or rumbles (sediment), it has been a year or more since the last flush, you are doing the yearly maintenance, or hot-water capacity has shrunk without another explanation. A maintenance flush — draining several gallons until the water runs clear — is the routine version; a full drain is for deep sediment, anode replacement, or tank service.
Do not drain when: the tank is actively leaking from the shell (draining a dying tank can accelerate its failure — call for replacement instead), the plastic drain valve is visibly brittle or seized (forcing it snaps it), or you cannot identify the energy shutoff. Also skip the full drain before a short vacation — it adds risk for no benefit. When in doubt about the tank's condition, a professional assessment before the first flush on a neglected old heater is money well spent.
Gather: a garden hose long enough to reach a safe discharge point (driveway, floor drain, or landscaping away from the foundation — never into a living space), a bucket, work gloves, and eye protection. Hot flush water can reach 130 degrees or more; treat it with respect. Wear closed shoes — garage floors get slippery.
Locate three things before starting: the energy shutoff (gas control knob on the heater, or the dedicated double-pole breaker in the panel), the cold-water inlet valve above the heater, and the TPR valve. Confirm the hose connection at the drain valve is hand-tight plus a quarter turn — a hose that blows off under pressure sprays scalding water across the garage. And pick a cool-down window: never drain a tank that just finished a heavy heating cycle.
Gas: turn the gas control knob to OFF or PILOT. OFF is safest for a full drain; PILOT is acceptable for a quick partial flush since the burner will not fire meaningfully. Electric: switch the dedicated breaker OFF at the panel — not just the thermostat, the breaker. Tape a note on the panel so nobody flips it back mid-job.
This step is where DIY flushes destroy heaters. An electric element exposed to air for even a minute burns out — dry-firing is instant and irreversible, and it is the number one 'my heater worked before I flushed it' failure. A gas burner firing on a partially drained tank overheats the exposed steel. Energy off first, verified, every single time. Then let the tank cool for several hours — overnight is ideal — before opening the drain.
Close the cold-water inlet valve above the heater. Then relieve system pressure: open a hot-water tap at the nearest sink (to vent air into the tank as it drains) and briefly lift the TPR valve lever to confirm pressure releases through the discharge pipe. Keep hands and face clear of the discharge — the first burst is the hottest water in the tank.
If the inlet valve will not budge, stop. A seized inlet valve is common on heaters that have not been serviced in a decade, and forcing it can break the valve body. This is a sign the heater wants professional service: the valve needs replacement, and the flush should wait until the water can be reliably controlled. The same goes for the TPR valve — if it will not lift or will not reseat, replace it before proceeding.
Attach the hose to the drain valve, route it to your discharge point, and open the valve slowly. For a maintenance flush, drain five to ten gallons, then briefly crack the cold-water inlet open in bursts — the incoming cold water stirs up sediment and carries it out. Repeat until the discharge runs clear. For a deep flush on a neglected tank, drain fully, pulse the inlet several times, and watch what comes out: sandy grit and cloudy water are normal; large flakes of glass lining are a bad sign.
Work the drain valve gently. Factory plastic valves get brittle with age and heat — open slowly, never force past resistance. If flow slows to a trickle with the tank still full, sediment is clogging the valve: pulse the inlet, or carefully clear the valve opening with a short piece of wire. If the valve snaps or strips, you will need a replacement valve — which is why a full-port brass drain valve upgrade is one of the smartest small investments for a Colton heater.
Close the drain valve (snug, not overtightened), remove the hose, open the cold-water inlet fully, and leave the hot tap open. Water will sputter and spit air — this is normal. Wait until the hot tap runs smooth and bubble-free, then close it. Check the drain valve and all fittings for drips under full pressure.
Only now restore energy: gas knob back to the temperature setting (relight the pilot on older standing-pilot models), or the electric breaker back ON. For electric, triple-check the tank is full first — elements die in under a minute in air, and 'I thought it was full' is the most expensive sentence in DIY water heating. Let the heater complete one full heating cycle, then check the TPR valve, drain valve, and fittings once more for weeps.
In Colton, flush more often and expect more sediment: a yearly flush here pulls out what takes two years elsewhere. If your first-ever flush produces buckets of grit, shorten to every six months until the discharge runs reasonably clear. Consider replacing a plastic drain valve with brass at the first service — the valve is the weak link in every hard-water flush.
The classic mistakes, in order of damage: restoring electric power before the tank is full (dead elements), draining a tank with a failed TPR valve (no pressure relief during the job), forcing a seized plastic valve (snapped valve, emergency call), and flushing a tank that was already leaking from the shell (the flush finishes it). Avoid those four and a DIY flush is safe, cheap, and genuinely extends the heater's life.
Reading about water heater problems is useful, but some situations call for a trained eye — especially in Colton, where hard water from the Bunker Hill Basin accelerates wear on every component. If you see active leaking, rust-colored water, or water pooling where it should not be, do not wait to see if it gets worse. Shut off the water to the heater if you can do so safely, and call (833) 713-2101.
Our technicians diagnose the real source of the problem — not just the symptom — and explain your options in plain language before any work begins. Most visits in San Bernardino County wrap up the same day because we stock the parts that fail most often here. One call to (833) 713-2101 is all it takes to get an honest answer about your water heater.
If this guide saved you a service call — or helped you make a smarter one — it did its job. And if you are still unsure, that is what we are here for: call (833) 713-2101 and talk to someone who looks at Colton water heaters all day, every day.
Flush at least once a year; every six to twelve months if the discharge runs heavily discolored. Colton's hard water deposits sediment roughly twice as fast as soft water. If the heater has never been flushed and is over ten years old, have a professional evaluate it first — an aggressive first flush on a badly scaled tank can open leaks.
Mostly yes, with caveats. Flush water is hot and mineral-heavy — let it cool before it hits landscaping, and avoid draining large volumes onto the same plants repeatedly, since the mineral load can build up in soil. Never drain onto a neighbor's property or into a storm drain where prohibited; a driveway or laundry sink is usually the simplest compliant choice.
Shut the cold-water inlet immediately to stop the flow, then call for service — this needs a professional repair, often involving draining the tank through the broken valve opening or replacing the valve with the tank depressurized. This is exactly why brittle plastic valves should be replaced with full-port brass valves proactively, not after they fail mid-flush.
Yes — and for routine maintenance, that is often the better choice. Draining five to ten gallons with cold-inlet pulsing removes the loose sediment that causes most noise and efficiency loss, with far less risk than a full drain. Reserve full drains for deep sediment, anode replacement, or when the heater is being serviced.
Call (833) 713-2101 — Water Heater Leak Repair Crew serves Colton, CA 24/7.