The little spigot at the bottom of your water heater — the drain valve — is there so the tank can be flushed and drained. It's also one of the most common leak points on the entire unit. The good news: drain valve leaks are usually cheap and straightforward to fix, and they're rarely a sign the tank itself is failing.
Most factory drain valves are plastic. After years of heat cycling, the plastic gets brittle. The washer inside hardens. Then one day you (or a tech) use the valve for a flush, and it never seals quite right again. Common failure modes:
If the valve drips from the spout and you need time, a brass hose cap with a washer threaded onto the valve outlet will stop the drip. This is a legitimate temporary measure — not a hack — but don't treat it as permanent. The underlying washer is still failed, and a capped valve can't be used for flushing.
Replacement makes sense when the valve body is cracked, the threads leak, or the valve is plastic and more than 8 years old. Many techs proactively upgrade plastic drain valves to full-port brass ball valves during any service visit — brass lasts essentially forever, drains faster (full-port means less clogging from sediment), and costs little more than the service call you're already paying for.
Drain the tank below the valve level (or fully, if it's also flush time — efficient to combine), unscrew the old valve, clean the threads, apply sealant or tape, install the new brass valve, refill, and check. Typically 30 to 60 minutes. If your tank is due for an annual flush anyway, doing both in one visit saves you a second service call.
Rarely, what looks like a drain valve leak is actually water running down from a leak higher up — a T&P discharge, a fitting, or even tank seam weep traveling along the jacket. If a new valve still "leaks," the source is elsewhere, and that's when a proper leak diagnosis earns its keep.
While drain valve replacement is a manageable DIY project, certain situations warrant professional help. If the valve is severely corroded and won't budge, forcing it can damage the tank threads — a plumber has the tools and experience to extract stuck valves without causing further damage. If you discover the tank itself is leaking (not just the valve), professional assessment is essential to determine whether repair or replacement is needed.
Additionally, if your water heater is still under warranty, DIY valve replacement might void the coverage. Check your warranty terms first — many manufacturers require professional service to maintain warranty validity. A licensed plumber can also identify underlying issues (excessive sediment, water pressure problems, anode depletion) that may be contributing to valve failure.
If you're comfortable with basic plumbing, replacing a drain valve is a manageable DIY project. Turn off the water heater (breaker for electric, gas control to "pilot" for gas). Shut off the cold water supply. Connect a garden hose to the drain valve and run it to a floor drain or outside — then open the valve to drain the tank below the valve level. You don't need to drain the entire tank, just enough that water stops flowing from the valve opening.
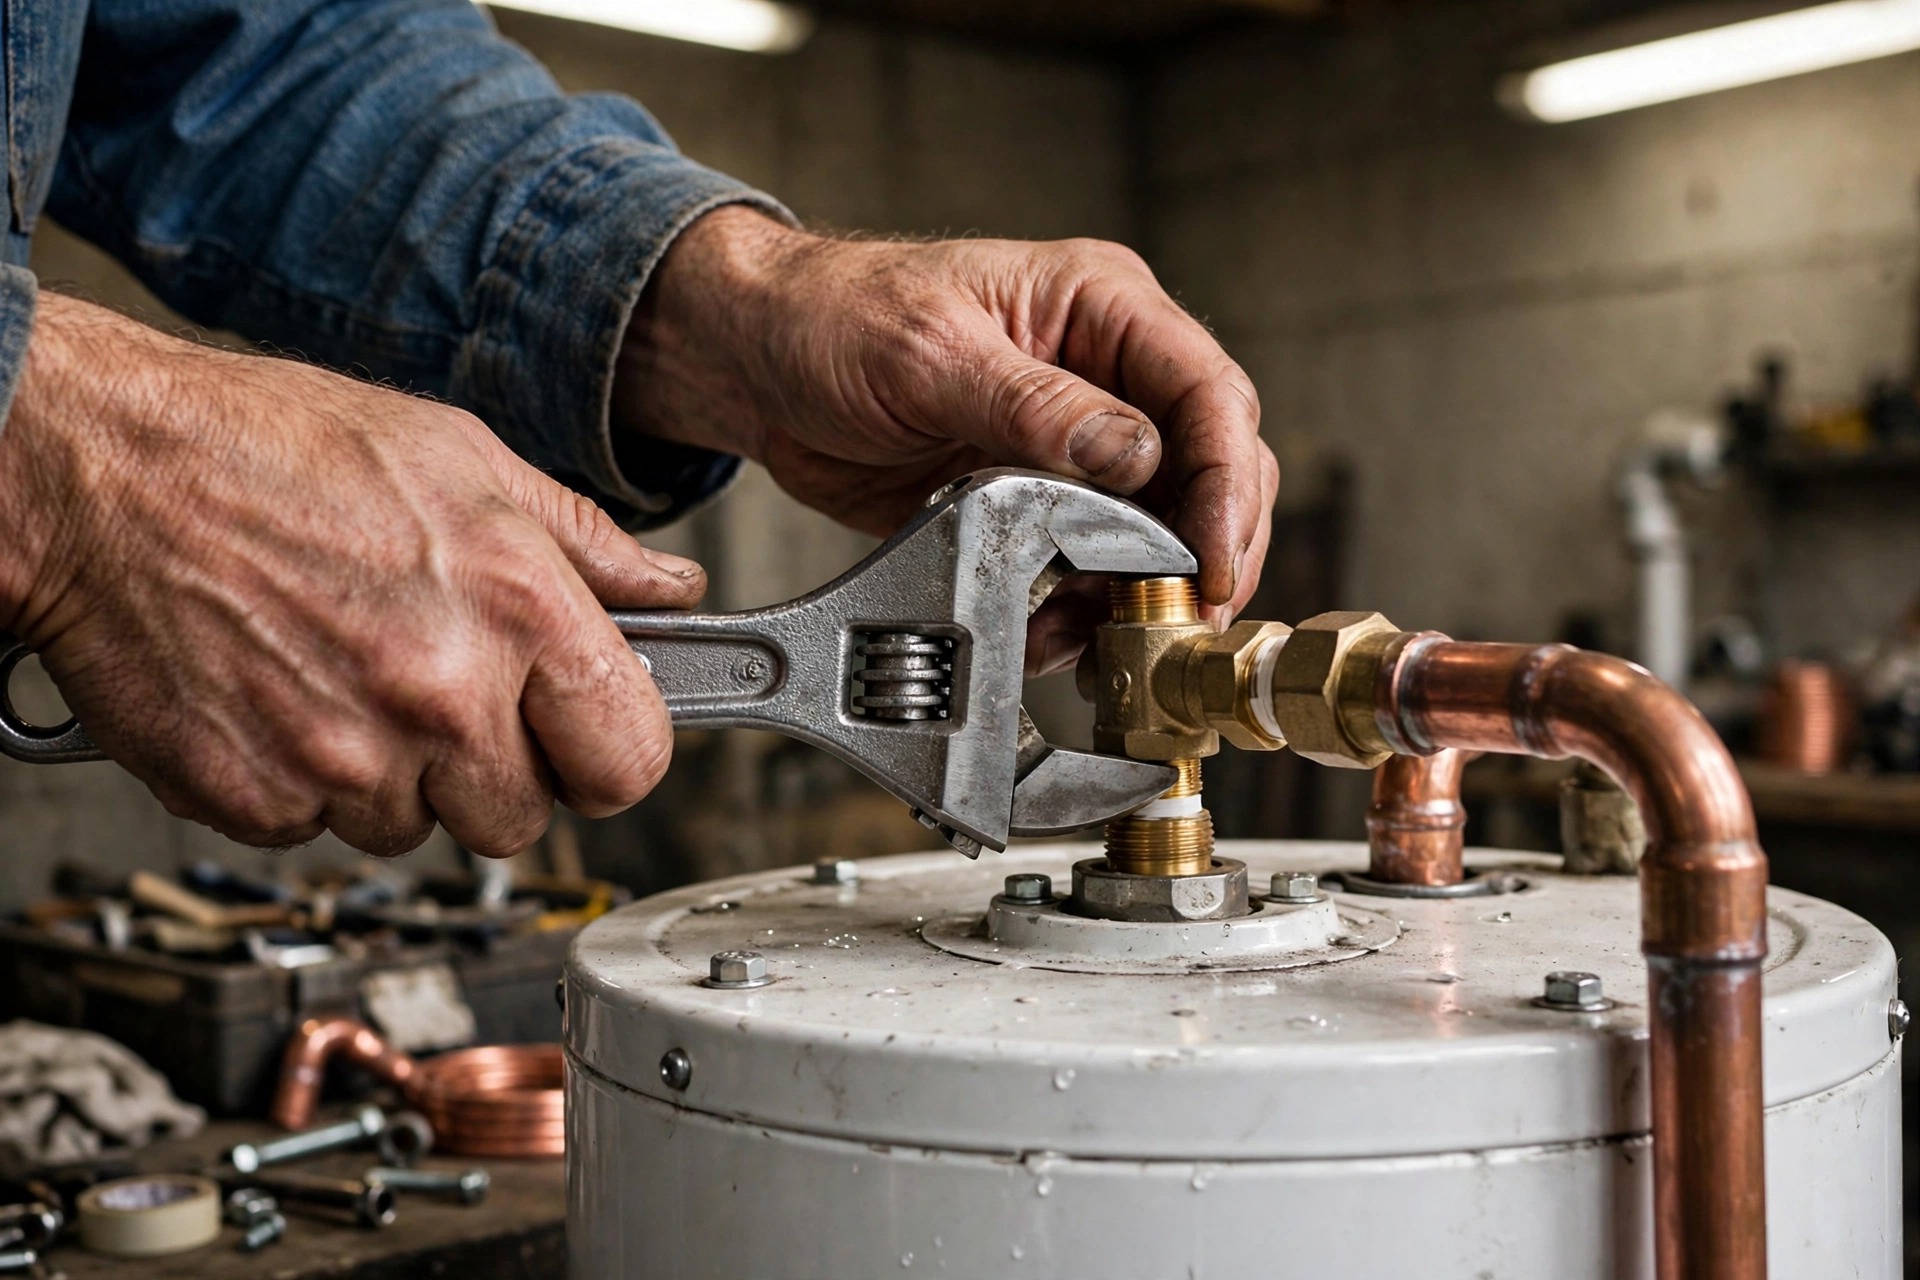
Use a wrench to unscrew the old valve counterclockwise. Have towels ready — some residual water will spill. Wrap the new valve's threads with Teflon tape (3-4 wraps clockwise) or apply pipe thread sealant. Thread the new valve in by hand first to avoid cross-threading, then tighten with a wrench. Don't overtighten, especially with brass valves in steel tank threads.
Close the new valve, turn the water supply back on, and check for leaks around the threads. Refill the tank completely (open a hot faucet until water flows steadily) before restoring power or gas.
Always choose brass over plastic for a replacement. Brass ball valves with a full-port design drain faster, resist mineral buildup, and last decades. Plastic valves are cheaper but prone to the same failures that caused your original problem. The small price difference is negligible compared to the cost of another replacement job in a few years.
Consider a full-port ball valve rather than a standard boiler drain. The larger opening drains sediment more effectively during annual flushing, which helps prevent future valve clogs. Some plumbers also recommend adding a short nipple extension to make future hose connections easier.
The best prevention is annual tank flushing. Sediment is the primary enemy of drain valves — regular flushing keeps the valve clear and functional. When flushing, open and close the valve several times to dislodge any particles. If your water is particularly hard or sediment-heavy, consider flushing twice a year. A water softener can also reduce sediment accumulation significantly.
One call is all it takes. Talk to a real water heater leak specialist serving Colton and the Inland Empire — no pressure, no obligation.
Call (833) 713-2101 Water Heater Leak Repair Specialists